How To Keep Your Jet Ski Looking Good…
Related: Winterizing For Storage
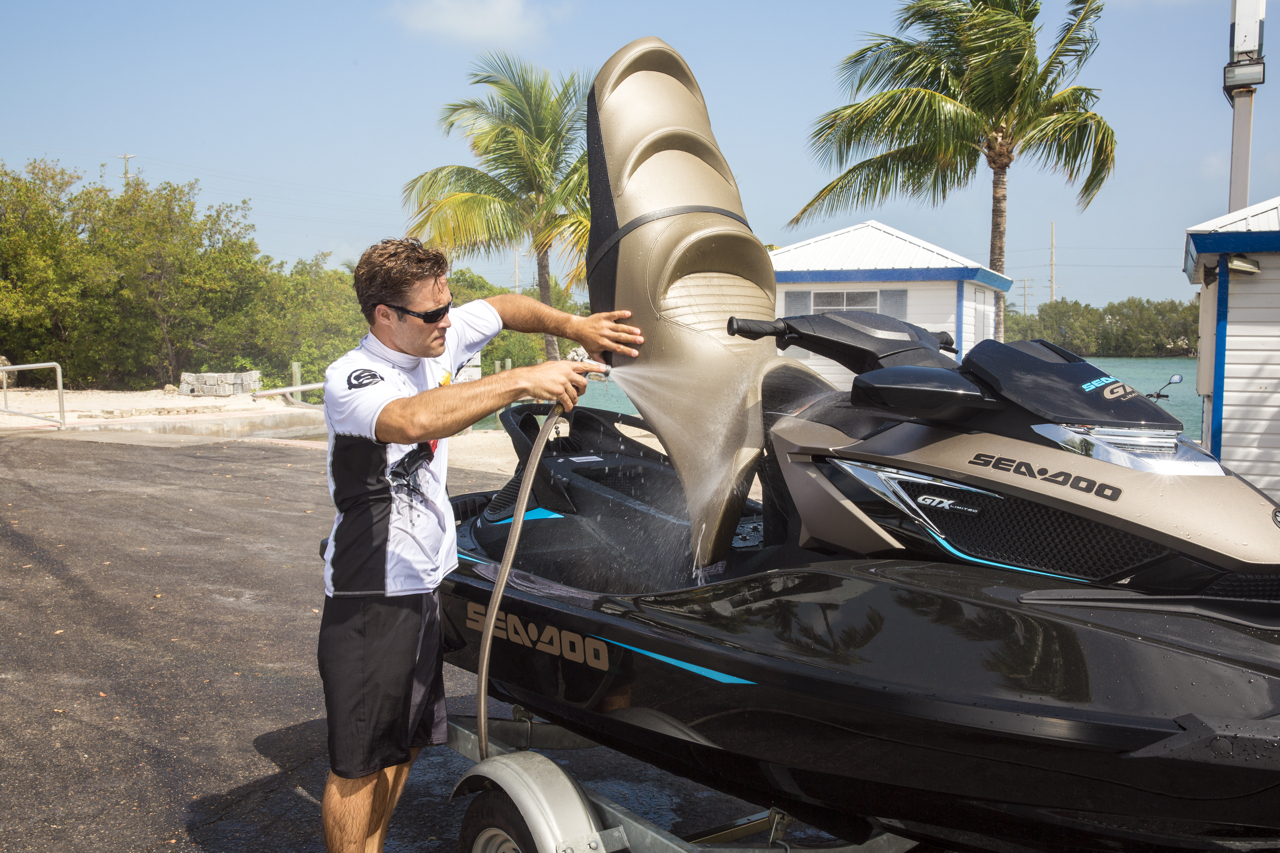
It doesn’t take more than a few minutes of PWC cleaning & covering after each PWC adventure to keep your Sea-Doo watercraft looking like new after a freshwater jet ski ride. Here are my tips for experienced riders or beginners about PWC cleaning & covering. Use them after each ride in Ontario and throughout Canada on your Sea Doo, jet ski or waverunner personal watercraft – and I have many more tips you might be interested in…
PWC Cleaning & Covering – Clean ‘em…
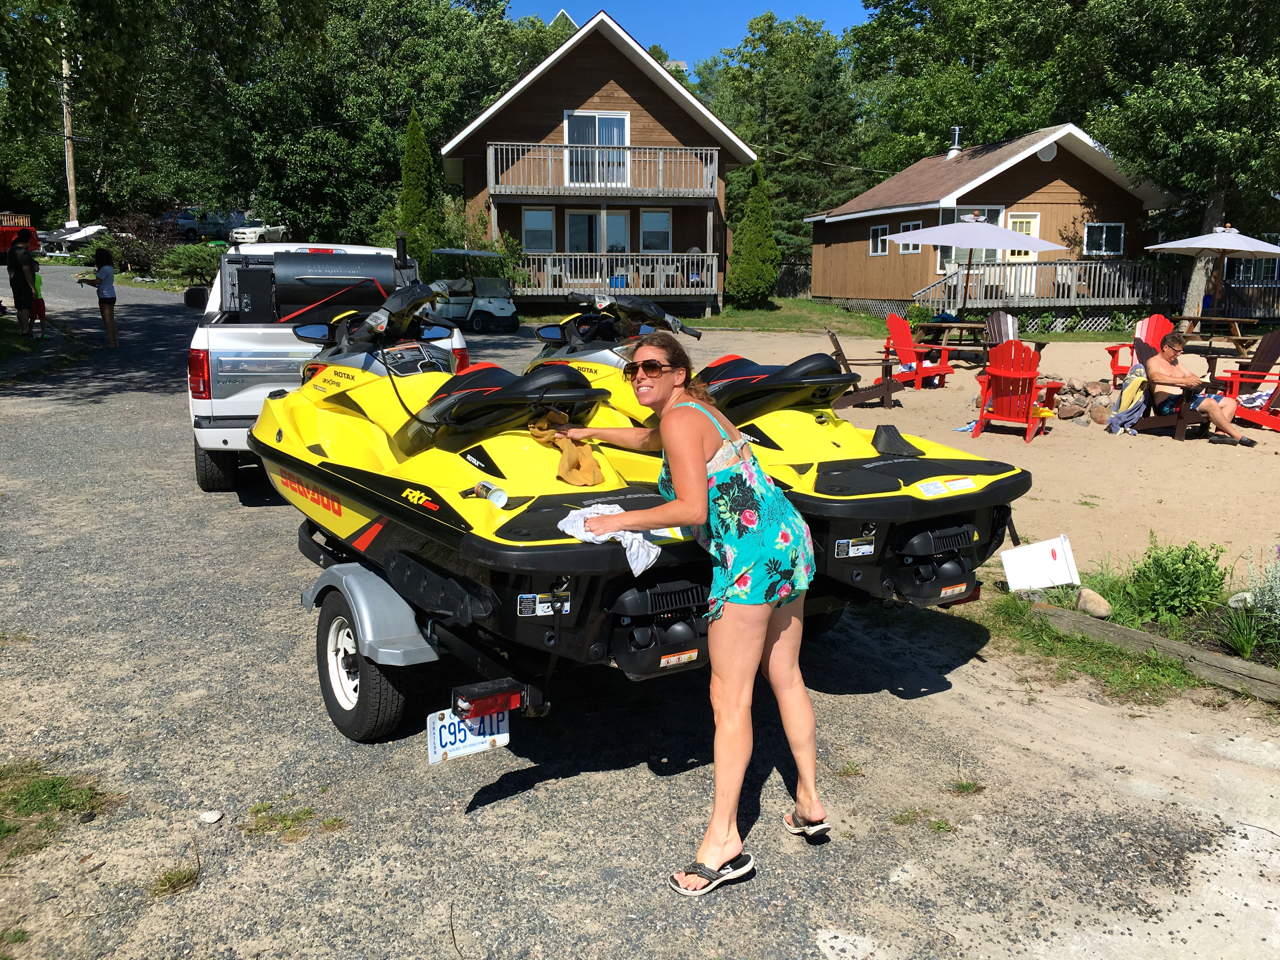
As soon as I load up my Triton Trailer and tow my Sea Doo watercraft out of the launch area, cleaning starts. I use a soft cloth and one of Sea-Doo’s XPS line of cleaning products to remove water spots and other marks from all deck surfaces. I also clean the mirrors, gauge cover and seat. Performing this chore immediately after a Sea Doo ride has three advantages. One, marks come off easily when they are fresh, not having a chance to dry or set. Two, this cleaning process gives me a chance to do a visual inspection for any new scrapes or damage that I might not otherwise notice. And three, the PWC looks great each time I start my next jet ski ride.
PWC Cleaning & Covering – Cover ‘em…
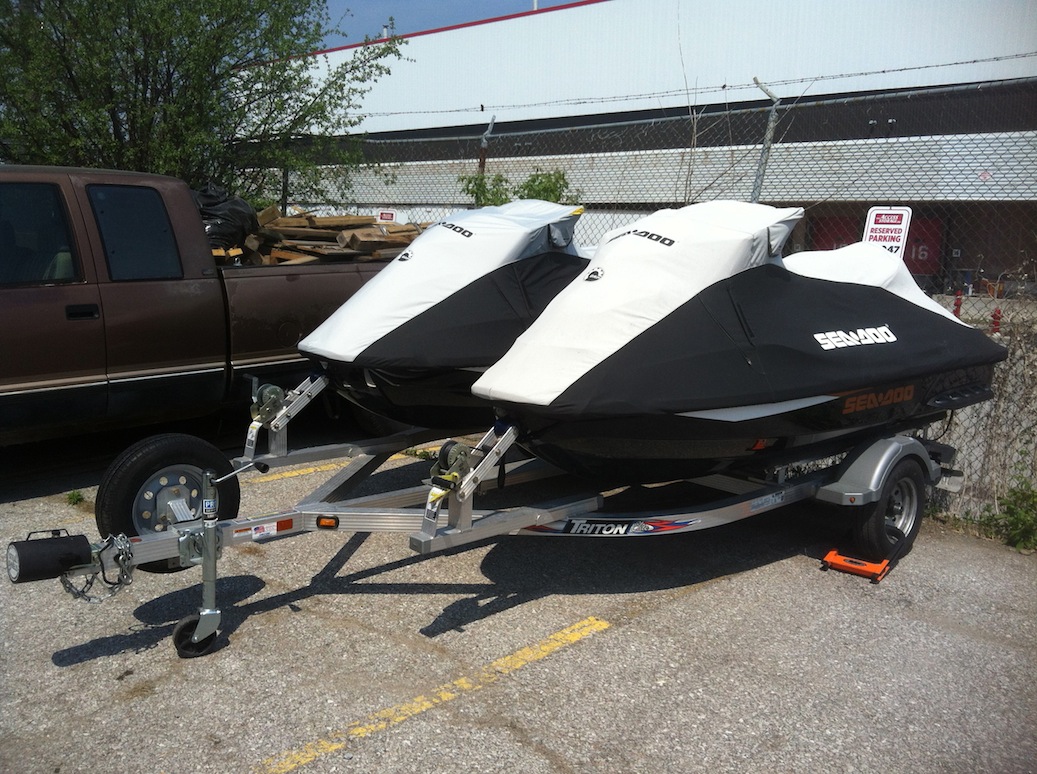
My jet skiis are always covered when not in use. This keeps my Sea-Doo watercraft looking good and protects them from road dirt, stone chips, bug splatter and sun damage. I‘ve had the most success with covers from the Sea-Doo catalogue. They fit well, provide good protection and durability, and look great trailering down the road. Once you know how, 2016 and earlier covers also go on easily (2017 and on covers are even easier)…
PWC Cleaning & Covering – Putting On An Older Sea-Doo Cover…
It took me a while to figure this out with covers for most pre-2016 fibreglass models. With your PWC on the trailer, start with the inside of the cover down and the front of the cover facing the front of the PWC. Swing the cover up and over the unit at the handlebars (Can be a challenge if it’s windy!). Then shift it so that the handlebar section of the cover settles into place over the handlebars. The handle bar ends should fit snugly into the two “pockets” provided.
With the cover in place over the handlebars, pull the front of the cover over the lip of the Sea-Doo’s front rub rail. Make sure that neither side gets hung up on a mirror. Now walk along one side to the rear, pulling the back of the cover with you until you can stretch it over the rear rub rail. Check along both sides to make sure the cover is down over the rub rail all the way around. Next, the clips…
PWC Cleaning & Covering – How to Fasten Cover Clips…
With 2016 and older covers, some riders have trouble developing the knack for clips. On each inside of the cover, a plastic clip is designed to go up between the inside of the rub rail and the hull to secure the cover in place. Find the clip, check its shape and then feel with your fingertips under the rub rail for the inner ridge where the clip fastens. Place your thumbs at the base of the clip and push it up between the rub rail and hull.
Then pull gently down and towards you until you feel the clip grab and lock into place. Finally, check that all cover zippers are closed. Now your covers won’t blow off or suffer any wind damage as you trailer. Good news: for 2017 on, Sea Doo has changed the configuration of the rub rails and cover clips to make clipping them on way easier. The putting on and taking off process remains the same.
Fortunately, newer Sea Doo covers are much easier to put on and clip in place. But I’d still recommend fitting your cover over the handlebars first. Then place it around the front. And finally, stretch it into place at the back.
PWC Cleaning & Covering – Taking Off a Sea-Doo Cover…
When taking the cover off, I’ve found the easiest way to release the side clips is to lift the back of the cover off the rear bumper of the unit first. And then go to the front to lift it off the front rub rail. Lifting off both ends of the cover with the clips still attached eases the tension on them. Next, continue to lift the front of the cover over the handlebars until the only thing holding the cover in place is the side clips.
Now go to the back again and ease the entire cover towards the rear. This slides the still-attached clips back in their slots and makes it easier to release them. Do so by pushing up and away from you with your thumbs at the base of the clip. But be gentle because if the plastic hook part snaps off, you’ll have to secure your cover with bungee cords or straps from then on.
By taking a little time for TLC, you can keep your Sea-Doo watercraft and cover in great shape – and help retain the best possible resale value for your jet ski!
If you enjoyed this post, check out my other riding tips.
The tips and advice in this article are the opinions of the author, may not work in every situation and are intended only for the convenience and interest of the reader, who has the personal responsibility to confirm the validity, accuracy and relevancy of this information prior to putting it to their own use.


